Crazy Golf
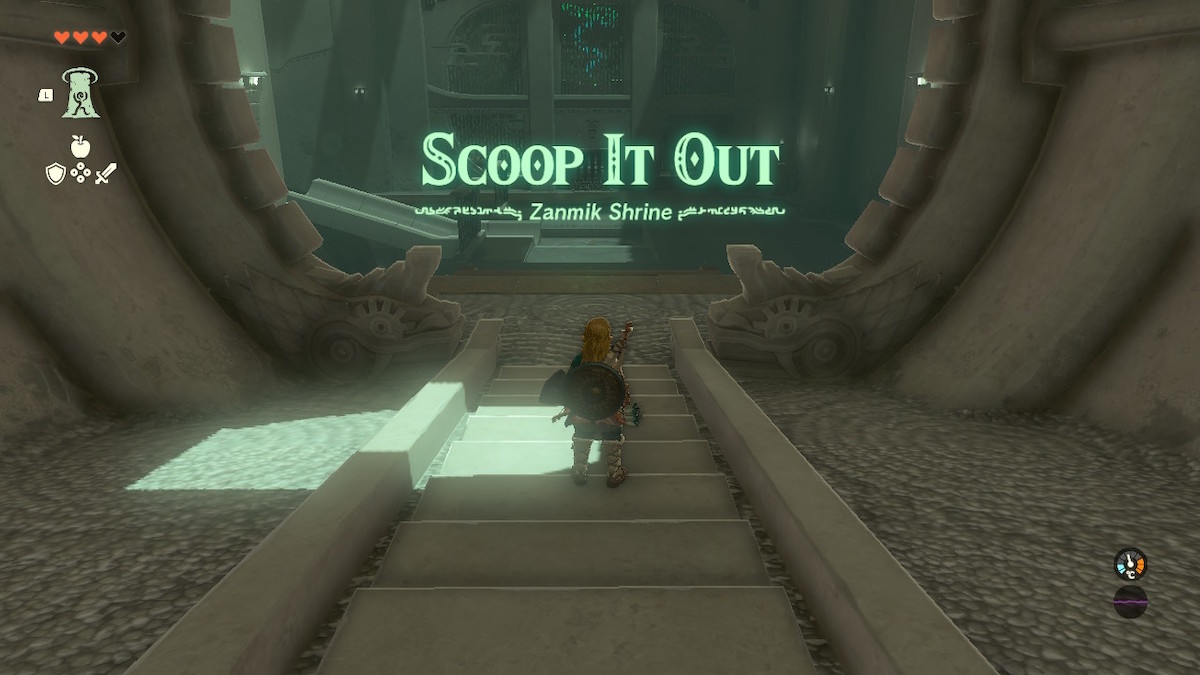
The Legend of Zelda: Tears of the Kingdom has added some really cool new abilities to the Breath of the Wild formula, and with that come some awesome new shrines. Zanmik Shrine is one of those classics that looks super difficult until you figure out the one trick you need.
Here’s everything you need to know about finding and completing Zanmik Shrine.
How to find Zanmik Shrine in Tears of the Kingdom

Zanmik Shrine can be found just southwest of Hateno Village in the East Necluda portion of the map. If you’re walking, it’s quite a trek from Lookout Landing, so it might not be a shrine that you will chance across until later in the game. That said, there are no special abilities, armor, or weapons needed to complete the shrine beyond what Link learns during the tutorial. That makes it perfect for anyone who wants to knock some shrines off the list in the early going.
See the map above for the exact location of the shrine.
How to complete Zanmik Shrine

Once you’ve made your way across the map to Zanmik Shrine, the next step is to complete the puzzle. Zanmik Shrine only requires you to make use of the Ultrahand ability. As you enter, you’ll see the massive wheel that isn’t moving. Head down to the bottom of the shrine, and you’ll see dozens of balls beneath the wheel, along with a few planks.
The first step is to power up the wheel. Use Ultrahand to attach two of the planks together and place them between the two connectors on the floor, as shown in the picture above. That will complete the electrical connection to power up the wheel, and it will begin turning.

The next step is to get one of the balls to the top floor, but the wheel doesn’t have any way to carry the balls up. To get a ball to the top, use Ultrahand to attach one of the remaining planks to the wheel and then a ball to the plank, similar to the screenshot above. This will allow the plank to break off at the top and let the ball land safely on the top level.

Finally, all that remains is to disconnect the ball from the plank and place it in the hole that activates the door. When the hole turns green, like in the picture above, the door is open, and the shrine can be completed.
That’s it! Happy shrine hunting!


