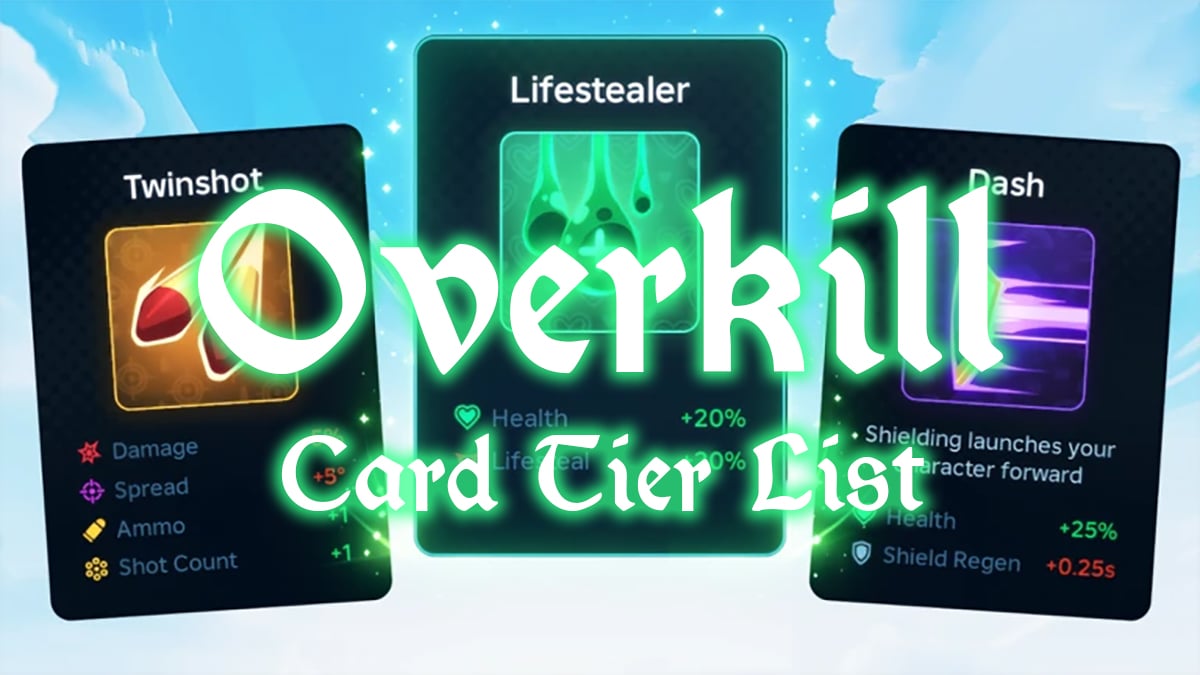
Below you’ll find the best cards in Overkill sorted in S-Tier and A-Tier with situationally powerful B-Tiers and some of the weaker or unusable options in C and D-Tier. Note that card effectiveness can sometimes change based on if you’re playing 1v1, 2v2, 3v3 or higher. Here’s my Overkill card tier list and guide.
Table of contents
Best Overkill Cards Tier List
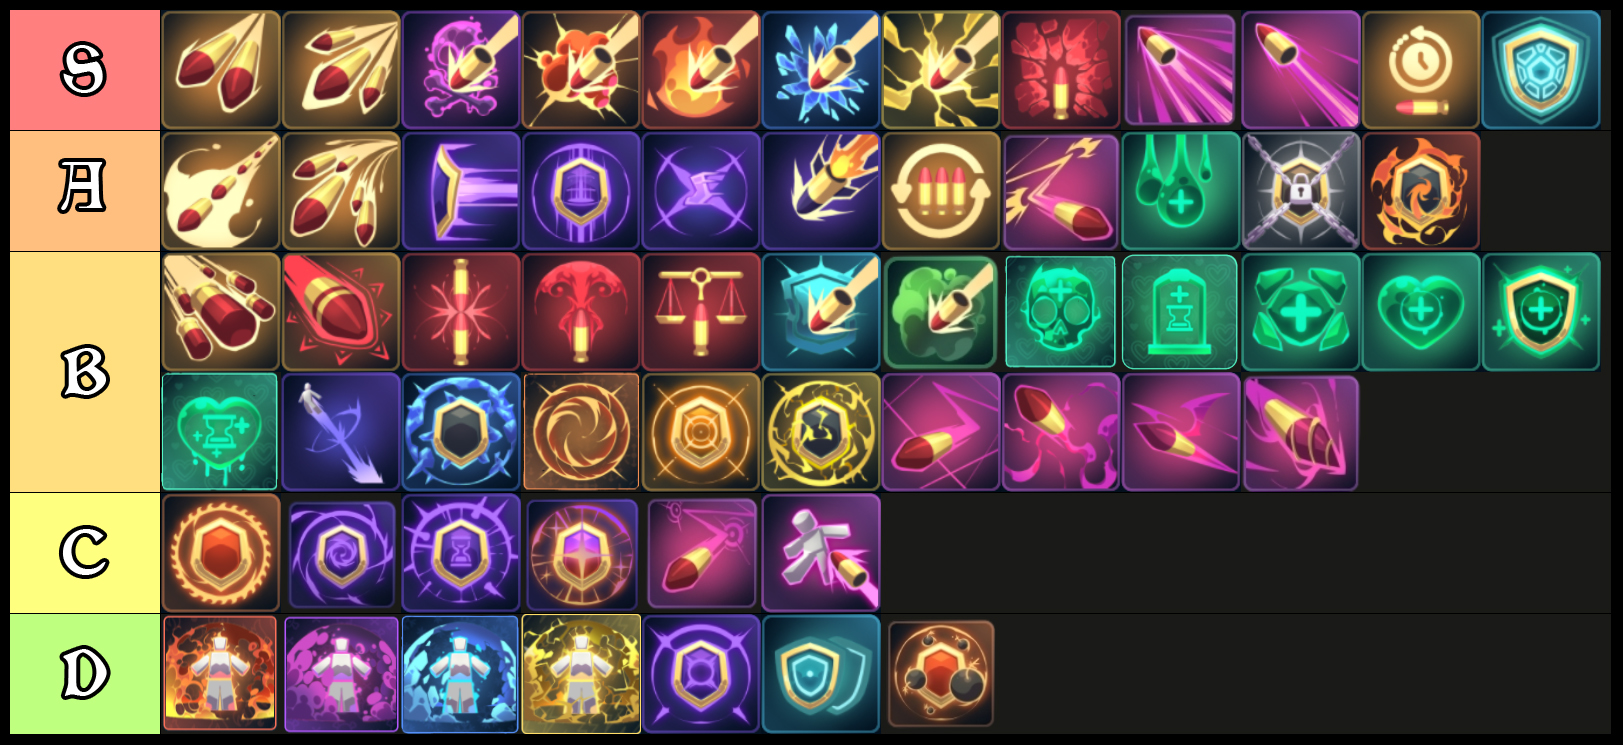
The best cards in Overkill can sometimes be standalone cards or some become much better when combined with others. That said there are some that are just straight up really strong or the opposite and shouldn’t be used much. The S-Tier ones above are always a good choice regardless of builds, the A-Tiers are powerful alterantives and the B-Tiers are situationally powerful or build dependent. As for C and D-Tier it’s full of beginner-friendly cards that are worse later or those that are underpowered or unusably weak. Here are some highlights from each tier below that I’ll analyze in more detail.
You can stack cards in Overkill with each one having different stacking methods but note that some are more effective than others when stacked.
S-Tier Highlights
| S-Tier Cards | Effect | Ranking Reason |
|---|---|---|
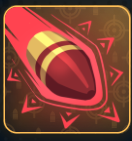
 Twinshot  Multishot | Twinshot Damage -10% Spread +5 degrees Ammo +1 Shot Count +1 Multishot Damage -30% Spread +5 degrees Ammo +3 Shot Count +2 | • The top 2 best DPS cards offering reliable damage with no glaring weaknesses • Twinshot is a lesser damage nerf and still has range capabilities while Multishot deals more damage close-mid range • In general the strongest options though Overflow or Rapidfire are decent alternatives |
 Any Elemental Bullet Card Like Burning, Frozen, Electric, etc. | Varies but each one adds an elemental effect on your bullets | • All of the elemental bullets are good, providing a reliable DPS increase with no downsides • That said, it’s not just DPS since they can also give you utility like slowing bullets with Frozen or mini-stuns with Electric • Always pick at least one of these |
 Fragile | Health -25% Damage +50% | • Damage is much more important than HP in Overkill since you can play around cover • This is the case especially in 1v1, 2v2 and 3v3 where you can snipe enemies from range • It’s worth the HP decrease and besides, you can make up for the HP reduction with other cards that boost HP |
 Hypershot | Bullet Gravity -50% Bullet Speed +50% Reload +0.25s | • Since bullets have dropoff in Overkill Hypershot basically gives you a hitscan weapon similar to other FPS games • This makes aiming much easier and allows you to hit long range shots • Combines extremely well with Fragile for a Sniper build |
 Defender | Health +25% Shield Regen -1s | • The best defensive card in the game • Getting your shield up 1 second earlier is huge for both offense by hopping off the edge of the map to get into position • And of course, defensively for reflecting more shots |
A-Tier Highlights
| A-Tier Cards | Effect | Ranking Reason |
|---|---|---|
 Overflow  Rapidfire | Overflow Damage -33% Spread +5 degrees Ammo +9 Reload +1s Rapidfire Damage -25% Ammo +2 Cooldown -50% Reload +0.25s | • Excellent alternatives to the S-Tier shot modifications • That said they come with a specific playstyle modification • Overflow suffers from massive Reload times so you have to play aggresively then look for cover • Rapidfire can be really strong in 1v1 and 2v2 but you have to be even more careful with aiming so as not to lose DPS |
 Shield  Teleport | Shield Dash forward when shielding Health +25% Shield Regen +0.25s Teleport Shielding teleports you forward through walls Health +50% Shield Regen +0.5s | • Both of these are exceptional defensive cards that give you massive mobility • You can use it to both retreat or go on the offensive • Being able to dash is extremely powerful in an FPS because it messes up your opponent’s aim • It’s easy to predict base movement speed so dodges and teleports mess it up for your enemies |
 Propulsion | Bullets push players and objects on impact Reload +0.25s | • This is great for destroying your enemy’s cover • Plus you can push enemies off the map or into fans that will then put them in awkard positions or disrupt their aim |
 Inferno | Shielding sets nearby players on fire Health +25% | • Really strong if you know how to parry bullets well but you have to be close so it’s not S-Tier |
 Lifestealer | Health +25% Lifesteal +25% | • Really strong defensive card to heal off your bullets that scales well with increased health |
B-Tier Highlights
| B-Tier Cards | Effect | Ranking Reason |
|---|---|---|
 Shotgun | Damage -30% Spread +20 degrees Ammo +3 Shot Count +5 | • One of the weaker shot modifications because you have to be really close • This is easy in 1v1 and 2v2 where it shines • That said in 3v3 and higher it’s much more difficult to reach your enemies without the A-Tier mobility cards |
 Bigshot | Increase bullet size Damage +25% Reload +0.25s | • Decent damage boost and increased hitbox • Not bad at all but nothing extremely powerful due to the Reload debuff • Just decent overall so I put it in the middle |
 Combine | Damage +75% Ammo -2 | • Can be really good if you know how to aim • That said, missing a shot is extremely deadly since you’ll be reloading much more than your enemy due to a lower mag size |
 Gas Cloud | Bullets create a toxic zone on impact Reload +0.5s | • Overall the toxic cloud damage is good if your corner your enemy • On the other hand they can leave it and you get more reload time which is bad • Situational card |
  Frostbite & Solar Surge | Frostbite Shielding freezes nearby players Health +25% Solar Surge Damaging waves spawn around you when reloading Health +25% | • Another example of a situational B-Tier card that can be quite good or not that effective depending on the situation • Both Frostbite and Solar Surge work if you’re close range • Solar Surge is good if you charge your opponent with shots and reload near them • Same with Frostbite where you want to be aggresive with your Shield and go into melee • Otherwise they suck |
 Death Timer | Stay alive for 5 extra seconds after death Health +25% | • Not as good as it sounds but not bad either • Requires some healing to be good from cards like Lifesteal • Note that stacking it doesn’t increase the duration by 5 but rather by like 50% or 2 seconds per stack or so |
C-Tier Highlights
| C-Tier Cards | Effect | Ranking Reason |
|---|---|---|
 Seeker | Bullets steer toward players Damage -25% Reload +0.25s | • Good for beginners but weaker later once your aim improves |
 Target Bounce | Bullets bounce towards the nearest player Damage -50% Bounces +1 | • Only really good in 4v4 or 5v5 matches where players are close • Otherwise kind of weak since players won’t be standing close to each other |
D-Tier Highlights
| D-Tier Cards | Effect | Ranking Reason |
|---|---|---|
 Any Aura Like Shocking Aura, Chilling Aura, etc. | Nearby players get electrocuted Health +10% | • All of the Aura ones are bad since you’ll be standing away from enemies most of the time • And for that brief window where you’re in melee these don’t do that much • Plus the HP increase is less than the S and A-Tier close range Cards |
That’s it for my Overkill card tier list and guide. Check out our Overkill codes for free goodies.


